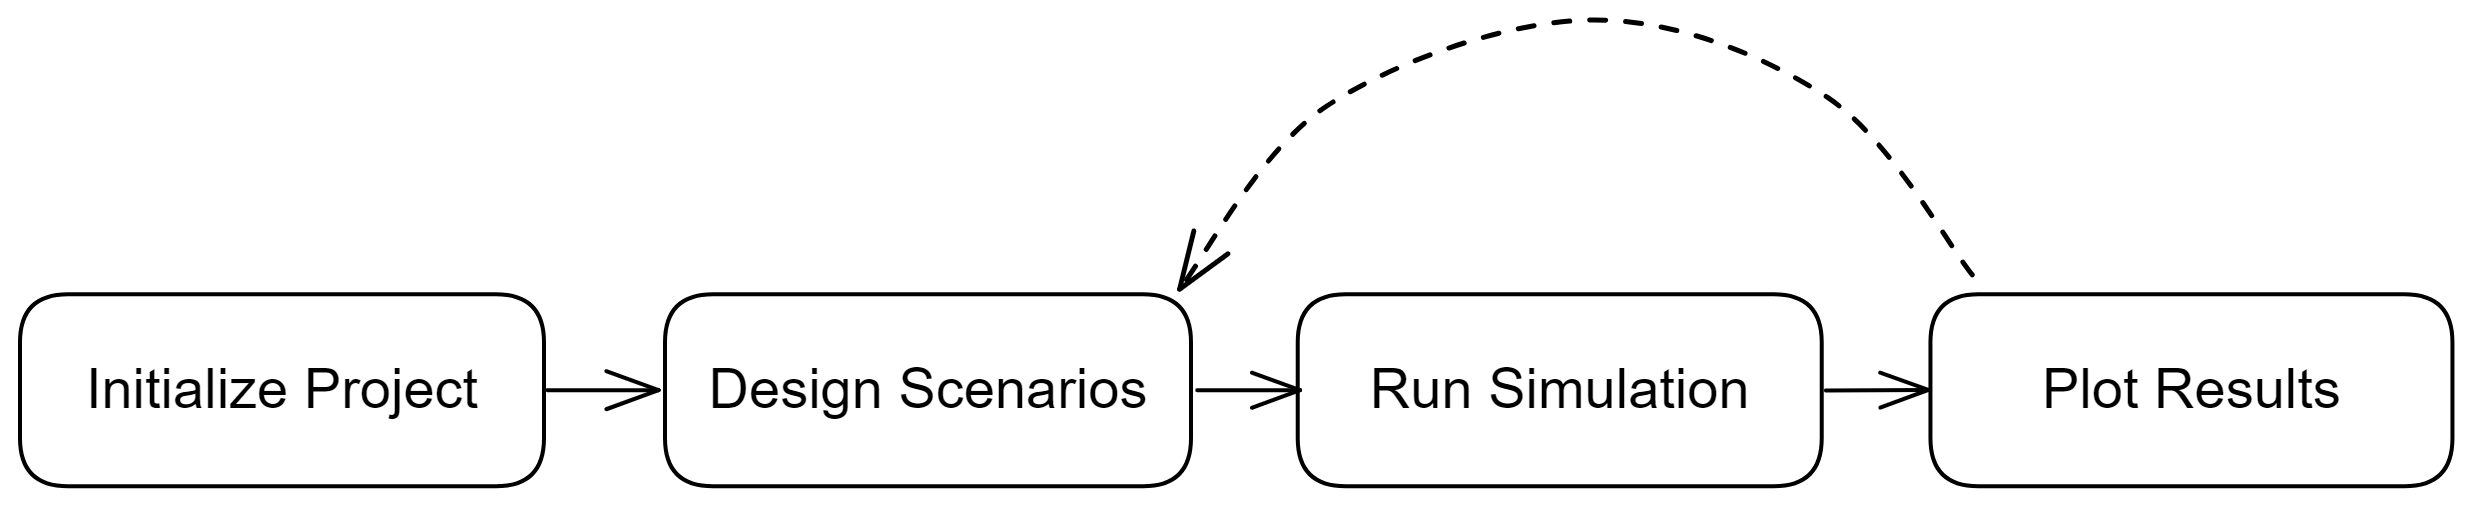
esqlabsR’s projects are set up in a four steps process:
- Initialize Project
- Design Scenarios
- Run Simulations
- Plot Results
While step 1 need to be done just once, you will be able to iterate easily as you fine tune your simulation and plots using simple code and excel files.
1. Project initialization
This first step is to initialize the specific directories and file structure required for the workflows.
The output is a ProjectConfiguration object that will be
used in many steps during the rest of the process.
Learn more in
vignette("esqlabsR-project-structure").
2. Design Scenarios
In esqlabsR, simulations are defined as scenarios, which are set up during this step.
Learn more in vignette("esqlabsR-design-scenarios").
3. Run Simulations
After scenarios have been set up, the simulations are run, and the results are returned.
Learn more in vignette("esqlabsR-run-simulations").
4. Plot Results
esqlabsR implements convenient and automated ways to
generate various plots for visual representation of simulation
results.
Learn more in vignette("esqlabsR-plot-results").